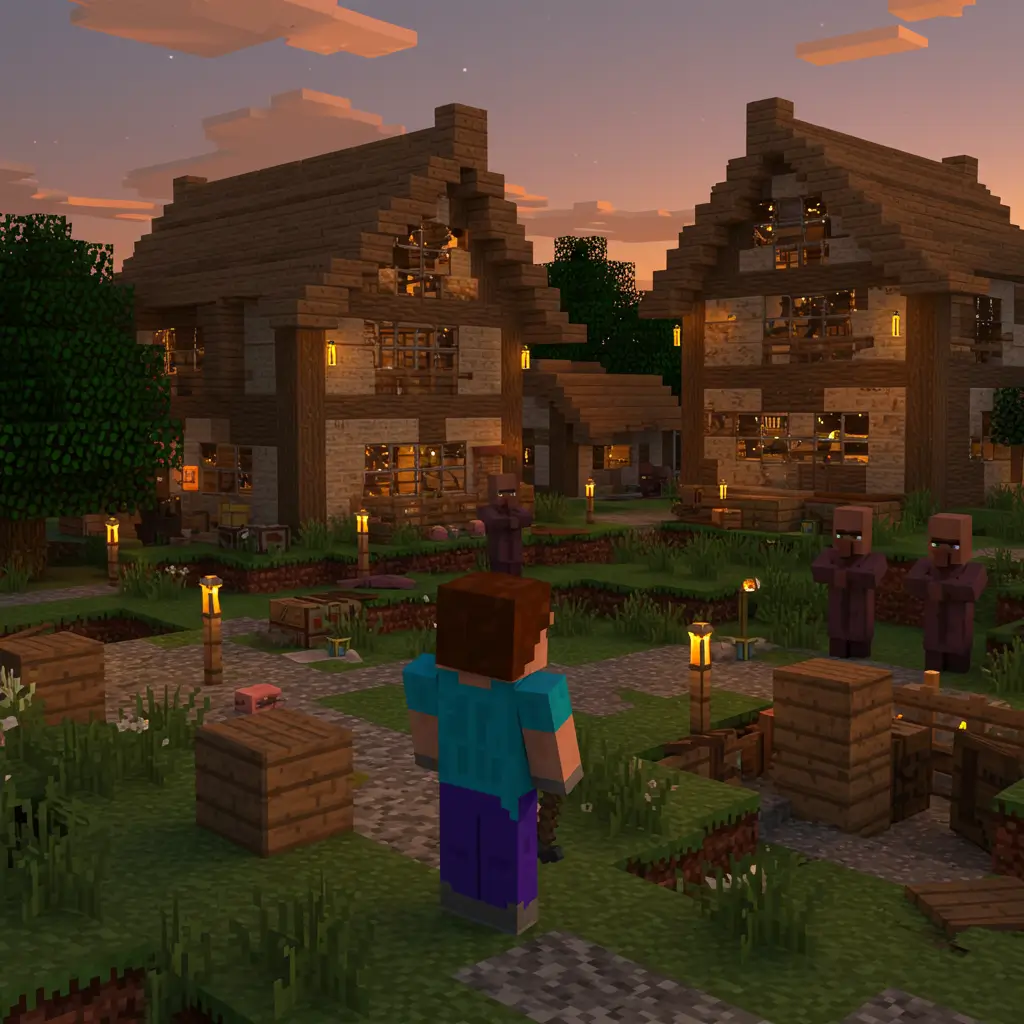
How To Decorate Villagers
So, you’ve wandered into your favorite village probably still half-destroyed by zombies the last time you forgot to light it up and suddenly thought, “Hey, these guys deserve better.” I feel you. Decorating villagers’ homes isn’t just about aesthetics; it’s about giving those poor AI folks a little pixelated dignity. Let’s talk how to actually make it happen without ending up rage-quitting or turning the entire place into your storage dump.
Why Even Bother Decorating Villagers’ Homes?
Let’s be honest, vanilla Minecraft villager homes? Ugly. No shade to Mojang, but come on—how many times do we need to see that one bed, one torch, one crafting table combo?
Here’s what decorating villagers’ homes actually does:
- Improves village aesthetics (because we have standards, okay?)
- Adds personality to each home based on villager professions
- Boosts immersion for survival or roleplay builds
- Gives you a fun creative project (like you needed an excuse .
So yeah, it’s not just about looks. It’s about crafting a world you’re proud to call your own—even if that world is 100% square-shaped.
Step 1: Know Your Villager
Before you go throwing in some random flower pots and a cauldron “because it looks nice,” take a sec to consider who you’re decorating for.
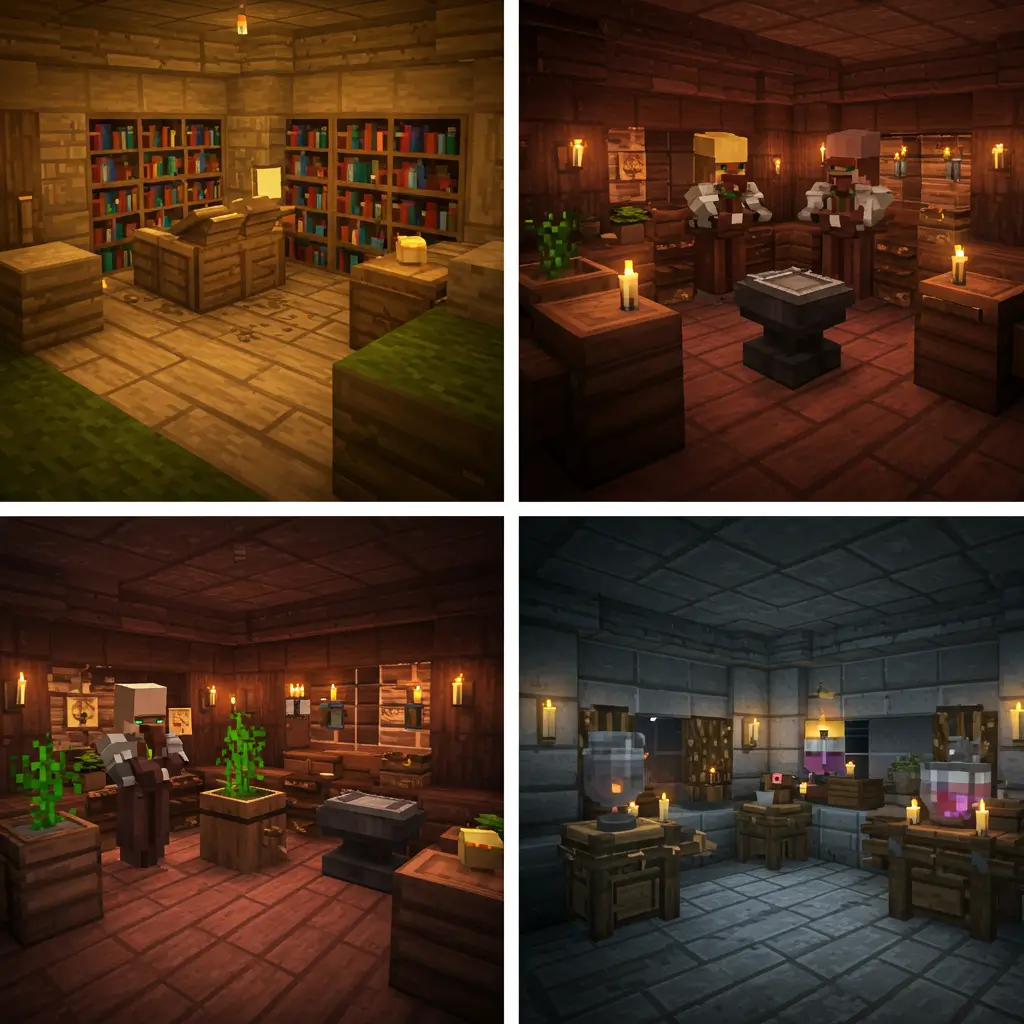
Match The Interior To Their Job
Each profession has unique blocks associated with it. That’s your design cue right there.
- Librarian: Bookshelves, lectern, cozy reading nooks
- Farmer: Barrels, hay bales, composter, maybe a snack corner?
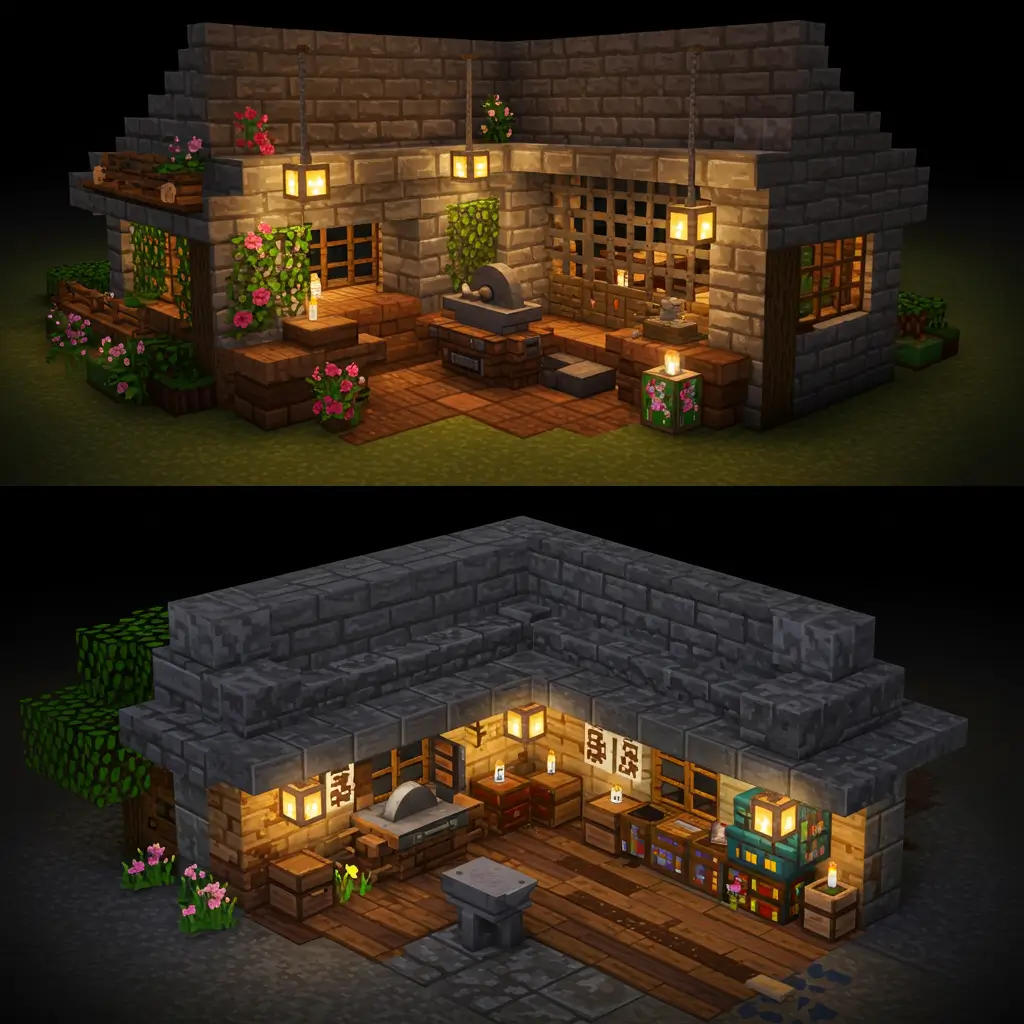
- Armorer: Grindstone, anvil, armor stands (duh!)
- Cleric: Brewing stand, candles, purple accents for that spiritual vibe
Pro tip: Don’t just slap the workstation in a corner. Blend it in like it’s part of their daily life. You know, make it make sense.
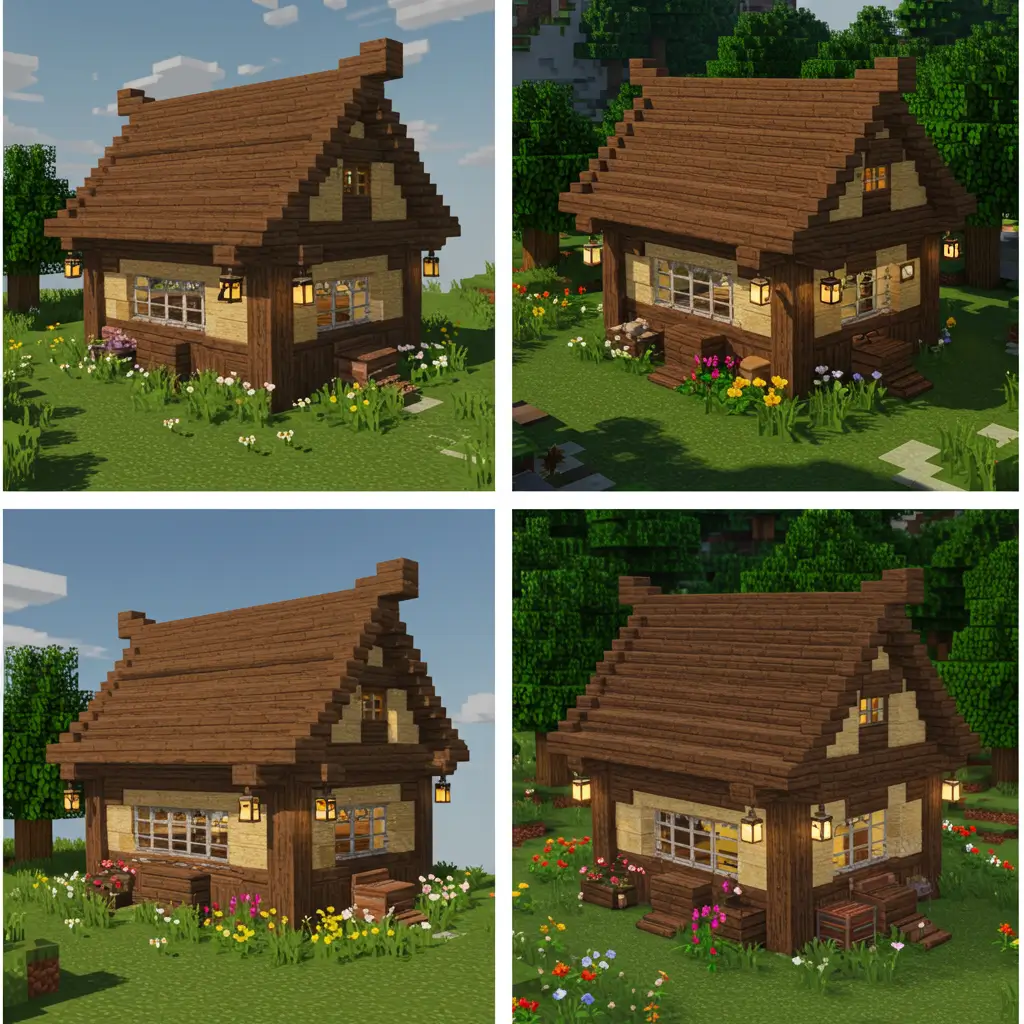
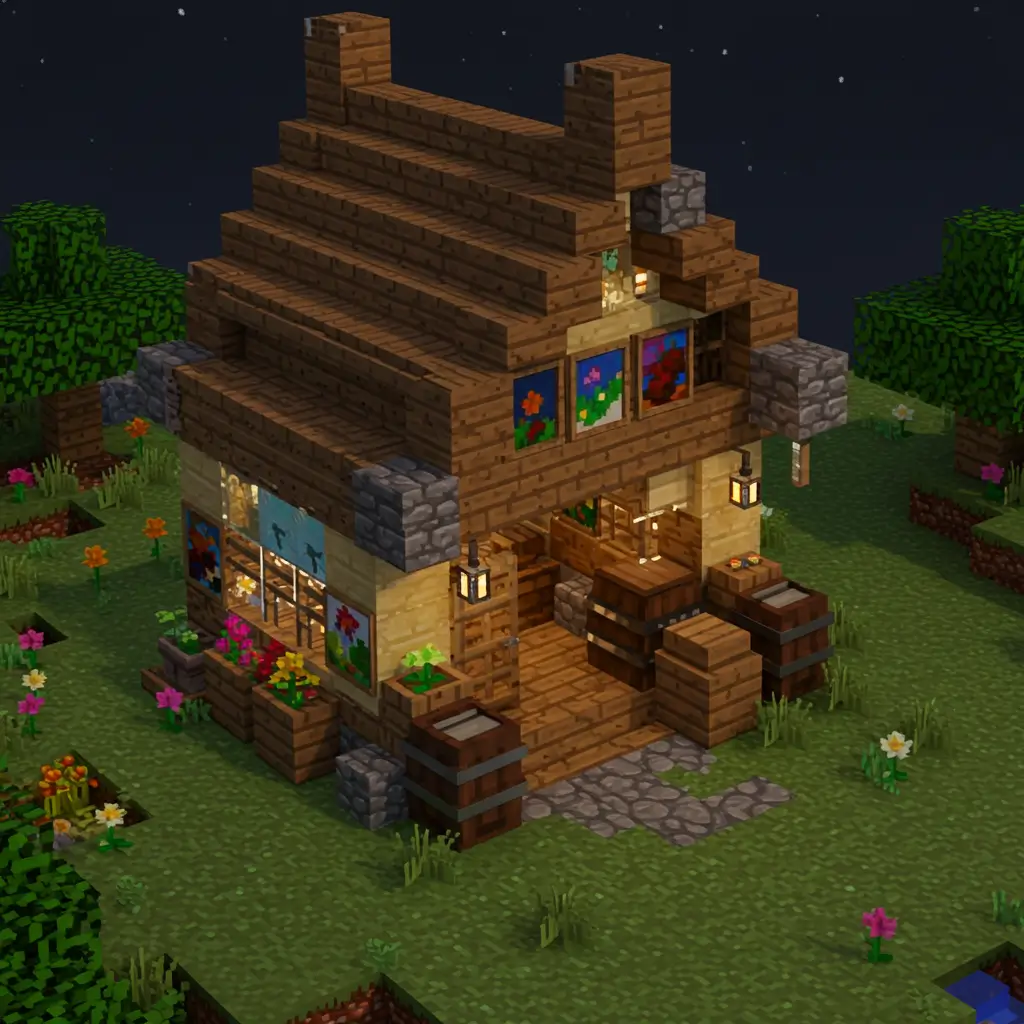
Step 2: Choose A Design Theme
Okay, now the fun begins. Are you going rustic? Modern? A weird mix of mushroom-core and medieval? No wrong answers, but please pick something cohesive.
Fun Themes To Try:
- Cottagecore Farmer Village: Lots of florals, white beds, hanging lanterns
- Industrial Blacksmith Hub: Dark oak, stone bricks, iron bars, lava lighting
- Magical Librarian Quarters: Enchanting tables, soul lanterns, deep slate trim
FYI: Consistency matters. Even if each house is unique, having a shared palette makes the village feel “alive” and not like a bunch of randomly generated Lego blocks.
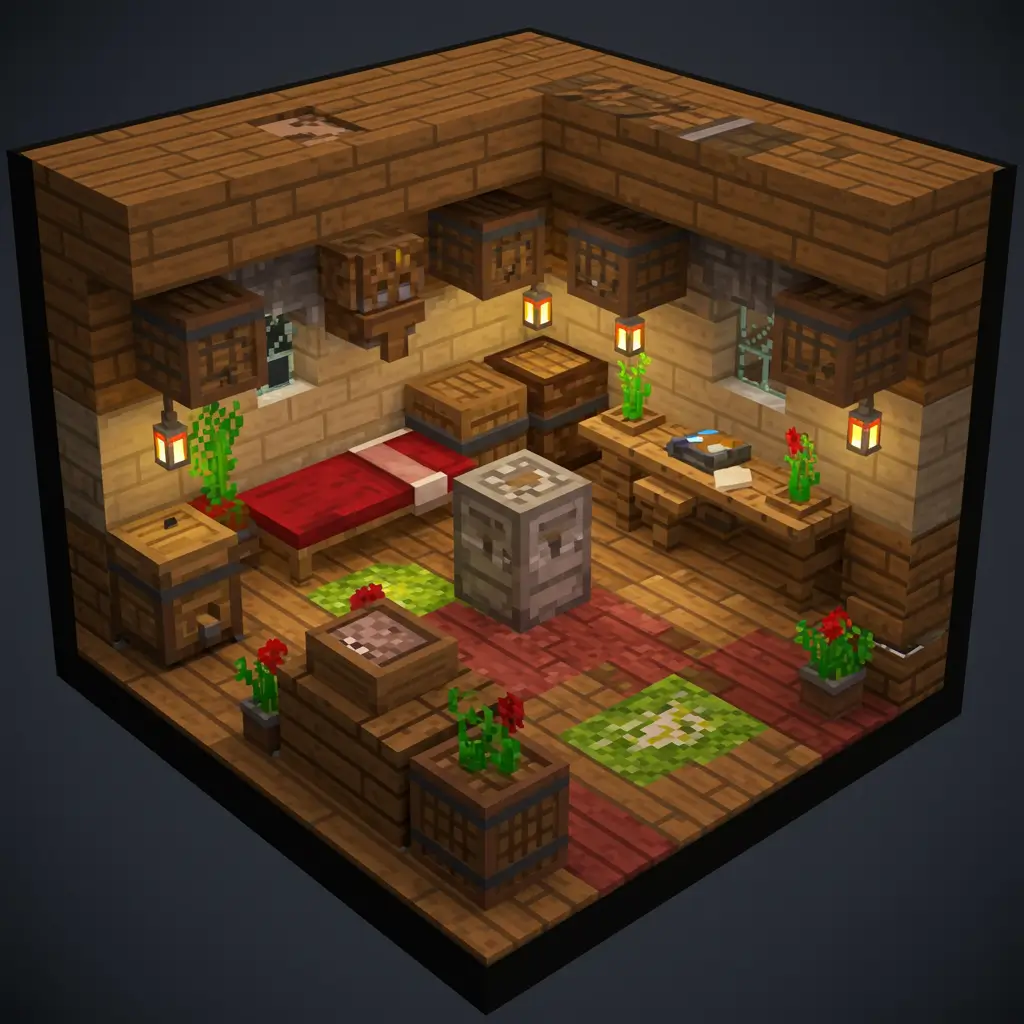
Step 3: Furnish With Function (and Flair)
Decorating isn’t just about throwing a painting on the wall and calling it a day. Let’s talk smart furnishing.
Essentials For Every Home:
- Bed: Obviously. Color-match it to their role, just for fun.
- Storage: Barrels > chests when it comes to style. Fight me.
- Lighting: Use lanterns, end rods, candles—ditch torches unless it’s for that medieval vibe.
- Workstation Block: Gotta keep their job, right?
Add Flair With:
- Flower pots and hanging plants
- Item frames with “tools of the trade”
- Carpets or trapdoor mats for coziness
- Bookshelves or signs with “quotes” (I once made a cartographer’s house say “The map is not the territory.” Deep, right?)
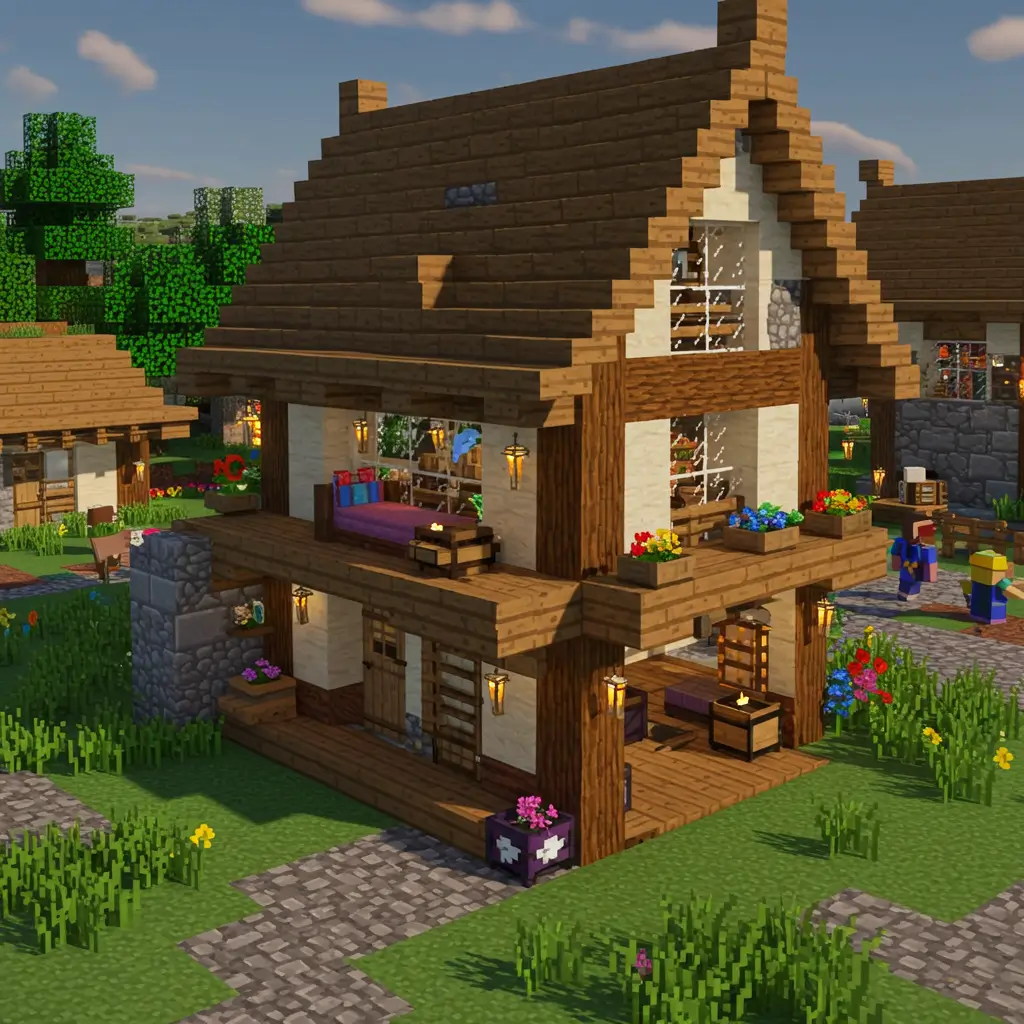
Step 4: Expand Their Space
Let’s be real. Most villager houses are tiny. Like, prison cell levels of claustrophobia. Give ‘em a glow-up.
How To Upgrade:
- Add a loft with a ladder and a cozy upstairs bed
- Build a basement for storage or a little garden
- Attach a porch or tiny greenhouse for visual interest
- Combine houses for shared spaces like libraries or kitchens
Trust me, they won’t thank you (because they’re coded that way), but you’ll know you did something great. That counts for something, right?
Step 5: Exterior Matters Too
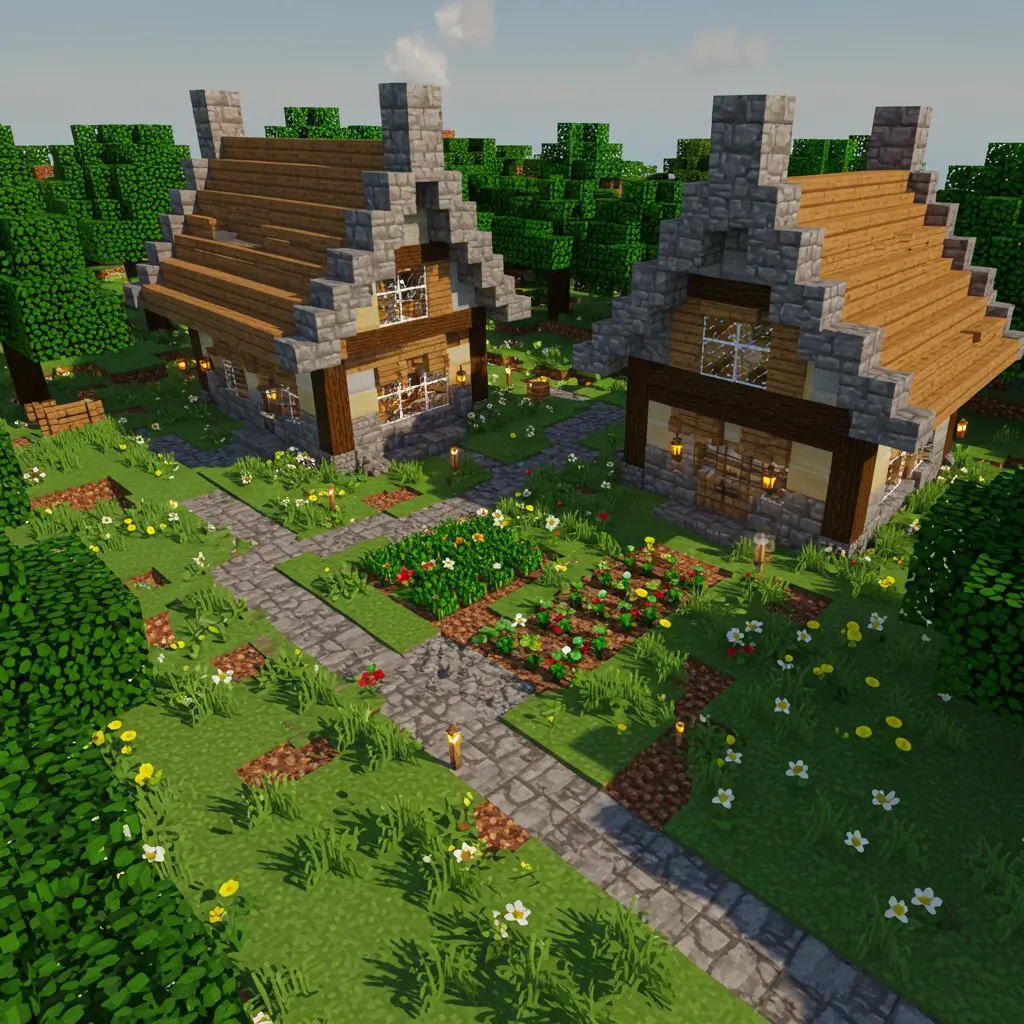
Don’t decorate inside like it’s Versailles and then leave the outside looking like it got hit by a creeper. That’s just rude.
Simple Exterior Upgrades:
- Replace walls with texture blocks (like a combo of stone, cobble, and andesite)
- Use trapdoors and stairs for window trims and roof detail
- Plant gardens with crops or flowers makes them look like they actually do stuff
- Pathways with gravel and moss to connect the village
IMO: Bushes and fences around homes? Instant charm. You’re welcome.
But What If You’re In Survival?
I hear you. You’re broke, tired, and everything wants to kill you. Decorating villager homes in survival is possible. Just… lower your expectations (a little).
Survival-Friendly Tips:
- Use wood types nearby (don’t go crazy gathering nether bricks if you’re in a plains biome)
- Craft stonecutters to stretch block variety
- Barrels and trapdoors give pro-level looks with cheap recipes
- Use flower pots, carpets, and paintings for color on a budget
You can still make it look dope without farming quartz for hours. I’ve been there. My pickaxe still cries.
Final Touch: Give It Personality
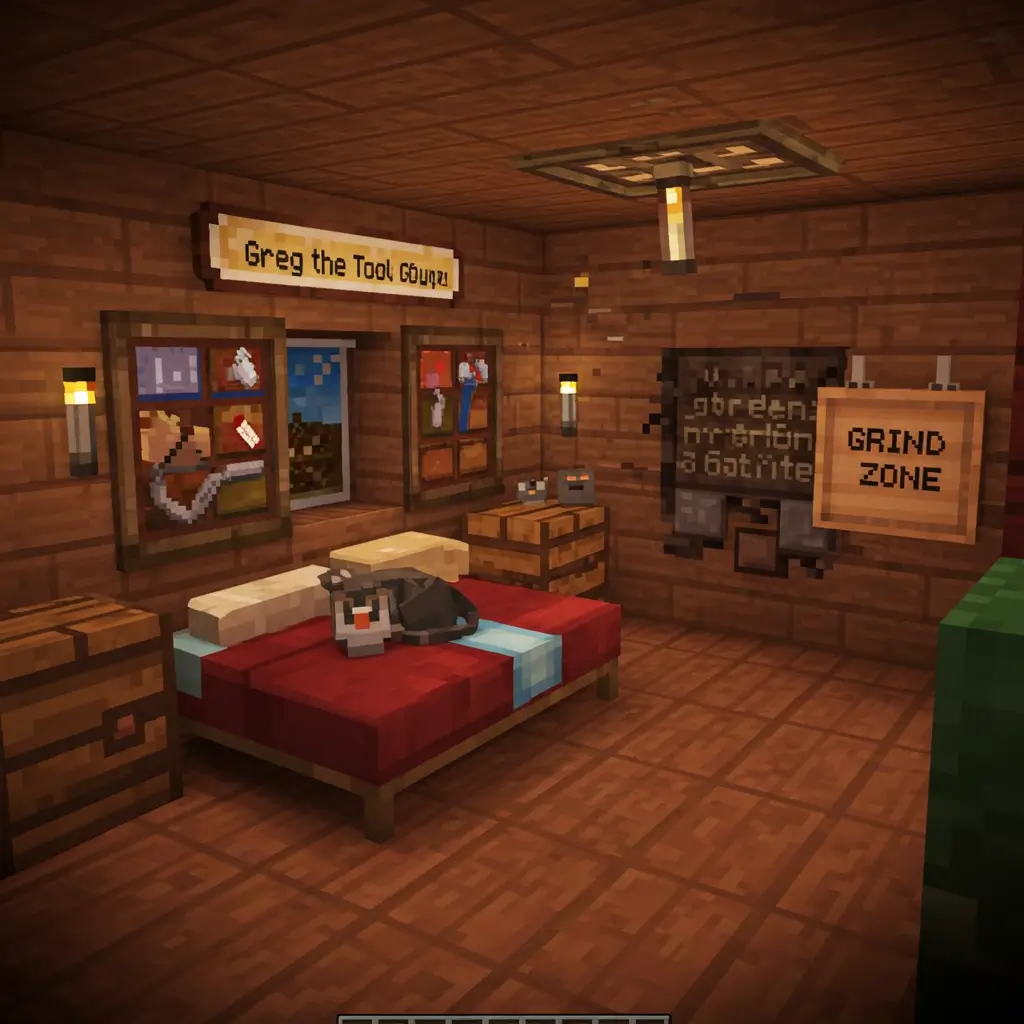
Want to take it next level? Add a few quirky touches:
- Name tags for villagers (“Greg the Tool Guy” FTW)
- Pet cats or dogs nearby
- Signs with “villager diaries” or job titles
- Custom banners or maps as wall art
The more personal you make it, the more fun it is to walk around your village and feel like you built something alive.
Wrapping It Up (Before You Go Renovate the Church Again)
Decorating villagers’ homes is way more fun than it sounds. It’s like Sims but blockier and the Sims don’t pee themselves. It makes your world feel less like a grind-fest and more like a little community you’ve curated with style.
So next time you wander into a village and see one poor fella stuck in a 3×3 hut with nothing but a torch for warmth? You know what to do. Now go forth, Minecraft interior designer. Those villagers deserve better, and you? You deserve to flex your creativity (and finally use all those flower pots you crafted by accident.